- Bansal Roofing Products Ltd
- +91-9925050913
- inquiry@bansalroofing.com
How To Install Roofing Sheets

Know The Components of PEBs Structure
October 30, 2020
5 Advantages of Metal Decking Sheets
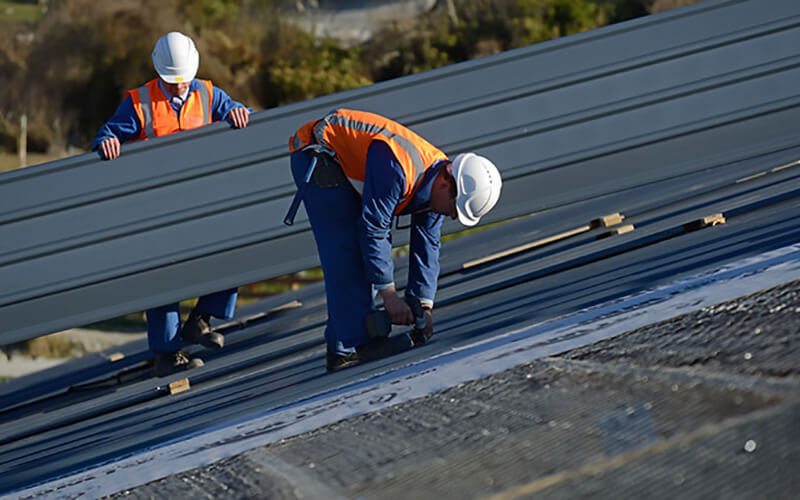
November 30, 2020Roofing sheet installation, though sounds like a challenging task, can actually be done quite comfortably provided you have good guidance. Here, we will discuss the basic steps of how to install roofing sheets.
Basic steps of how to install roofing sheets:
Of course, roofing sheets come in a variety of sizes and shapes and there’s no one-size-fits-all design, so the selection of the size, shape and type of roofing sheet to suit your application is the first step that you should take before installation.
#1 – Cutting The Roofing Sheet:
While most of the roofing sheets are available in pre-cut sizes from the roofing sheet manufacturer, you don’t have to worry about this step as much. But in cases where you have to cut it yourself, it is important to do it carefully and be as precise as possible. All cutting must be done on the ground because if any such process is carried out on top of the structure during installation it will cause debris to accumulate in joints and corners which can degrade the life of the roofing sheet in the long run.
Metal sheets should be cut while resting face down and on padded supports to prevent any damage to the roofing sheet. First, mark the layout using a marker. Only use appropriate tools for cutting like a circular saw or angle grinder. Try to keep the heat produced during the process to a minimum because this can cause damage to colour coated roofing sheets.
#2 – Laying The Sheets:
One of the trickiest parts in the process is laying the sheets properly so this must be done carefully. Make sure the sheets are perfectly aligned when laying them down or you might have to repeat the process all over again. It is a good idea not to secure the first few sheets as you’re laying them down because it will give you some room for adjustment and making corrections for alignment. Once the sheets are positioned correctly you may proceed with securing them down with the remaining fixings. Always use appropriate roof fasteners.
Also Read: Types of Steel Deck used in Green Building Construction
#3 – Weatherproofing The Sheets:
Use mastic tape and stitching screws to achieve weather-resistant joints. Try to achieve a minimum overlap of 250 mm between sheet to sheet. Use sheet to sheet stitching screws spaced 600 mm apart along the overlap between the sheets to strengthen the bond created by the lapping tape. These laps should be supported by purlins underneath. Fixing hardware used in this process must also be weatherproof or they may spread damage to the roofing sheets under harsh weather conditions.
#4 – Protrusions:
If your application calls for vents, skylights or plumbing pipes to cause roof protrusions, these must be flashed and adequate framing must be installed to support the sheet around that area. The roofing sheet manufacturer should be able to provide appropriate flashing kits as per the protrusions.
Bansal Roofing is a leading roofing sheet manufacturer in Vadodara and Gujarat and can carry out end to end activities from manufacturing to installation of roofing sheets. For more guidance and assistance, get in touch with Bansal Roofing right now.


