- Bansal Roofing Products Ltd
- +91-9925050913
- inquiry@bansalroofing.com
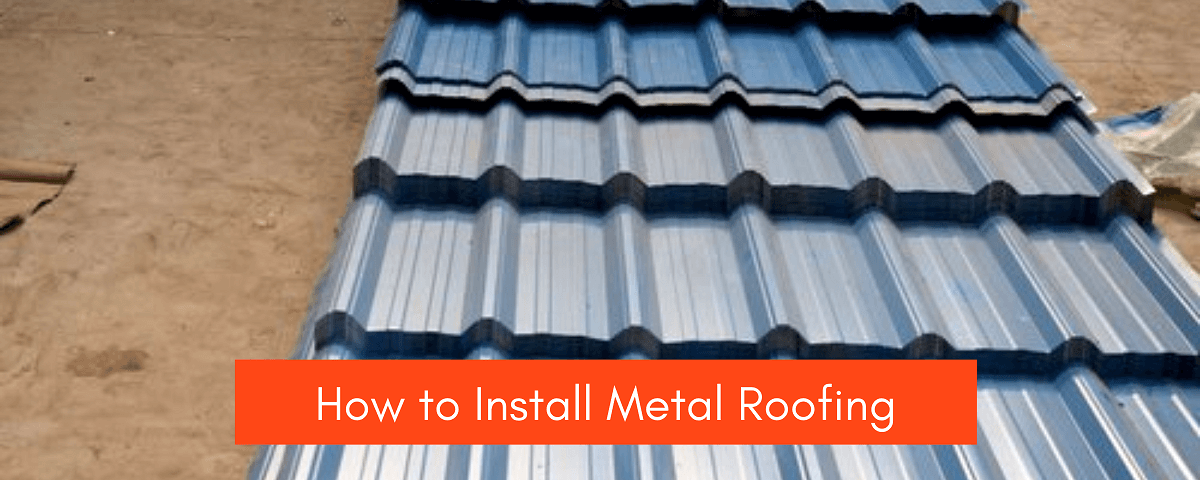
How to Install Metal Roofing

Pre-Engineered Buildings – Components and Advantages
May 6, 2022
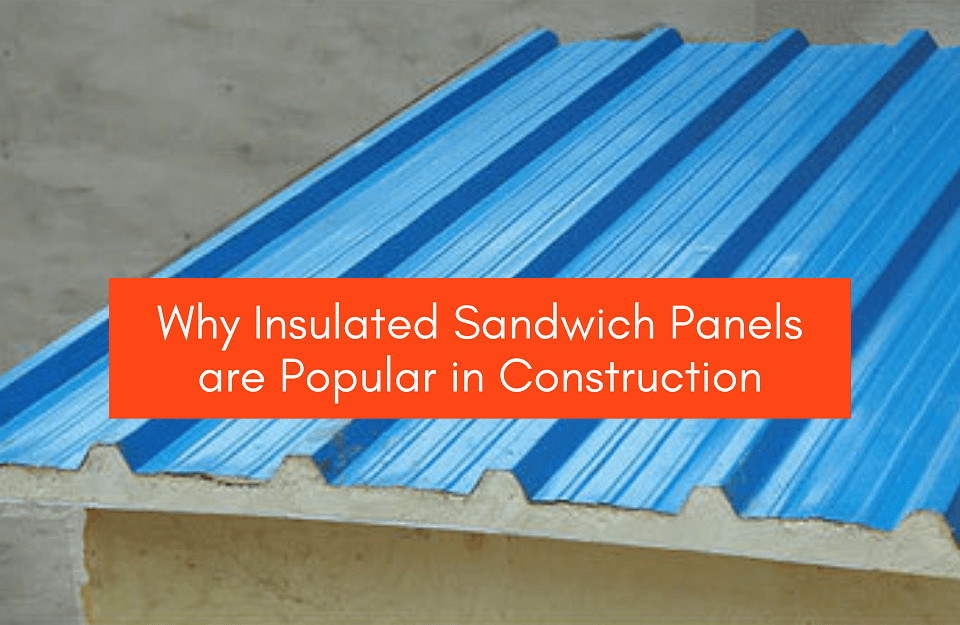
Why Insulated Sandwich PanelsAre Popular In Construction
May 25, 2022Metal roofs are the best replacements or additions to your construction. Not only are they an attractive alternative to asphalt shingles but are also strong enough to withstand and survive hurricanes and wildfires. Metal roofs are extremely durable with a life span of 50 years or more depending on the type of metal used as well as the climatic conditions.
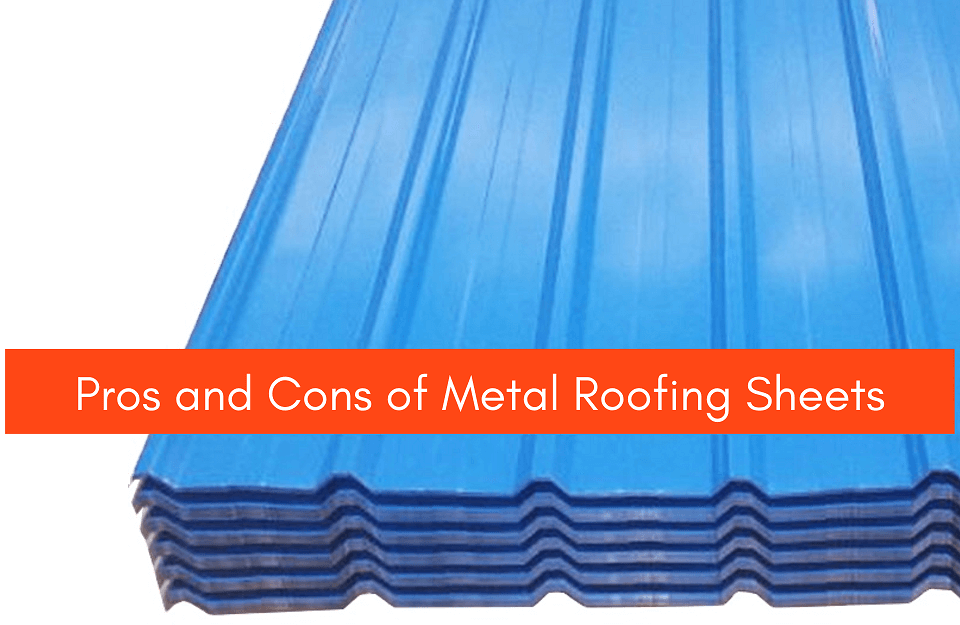
There are several advantages of using metal roofs such as energy savings owing to their ability to reflect the sun’s heat, their tendency to last for decades, strength and durability and much more. Moreover, metal roofing sheets are cost-effective with respect to maintenance and can be easily configured into different profiles.
The installation of metal roofing can be a tad bit complicated and can slightly vary based on the brand of panels you select. Bansal Roofing recommends that you seek the help of 1-2 individuals and fall protection equipment designed for roof work.
It is important to understand the safety aspect of installing metal roofs. Always ensure prioritizing your own safety when working above the ground. Use gloves and safety goggles and use saws or power drill like materials with utmost safety as well.
- Ensure no electrical wires or low branches are hanging over the roof.
- Secure your ladder at the base and the point of contact with the roof. Don’t forget to test the ladder to be certain that it will not shift under your weight.
- Use proper fall protection equipment and be sure of the system. That it is anchored to your roof studs correctly.
- Wear appropriate safety shoes.
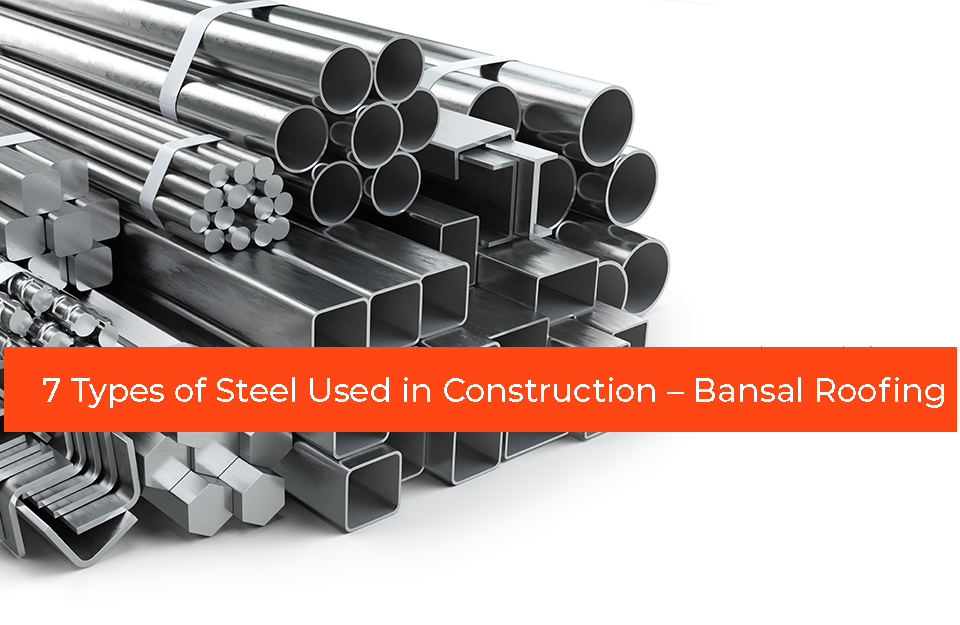
Before getting to the steps of installing metal roofing, it is important to understand the various types of metal roofs that exist. Metal roofs are made from a variety of metals such as tin, zinc, steel, aluminium and copper. Every metal has its own advantages and disadvantages as well as cost consideration like factors. Steel, for instance, is the least expensive option while copper is the costliest.
In addition to choices of material, metal roofs are also available in 3 design types; Through-fastened panels known as corrugated panels, Modular panels and Standing seam or crimped panels. While through-fastened corrugated metal panels are the most common of the 3, they are common and readily available roofing that can be installed over roof sheathing or purlins. Modular panels on the other hand are mimics of asphalt shingle and tile like roofing materials and are available in a wide range of colours and styles. Crimped or standing seam panels install over solid or skip sheathing; which is sheathing with gaps in between, and has a very complex installation process.
Installing Metal Roofing Panels:
#1 – Measure the Roof:
Whether you install a metal roof with off-the-shelf corrugated panels or by replacing the special order, it is imperative to have the right length and amount of materials which can be started upon by knowing the square footage of the roof. In addition to knowing the square footage, you must also need to know the length of each section from the ridge to the outer edge of the eave. This distance will give you an idea of how long the panels need to be.
- For a basic gable roof, start by measuring the rake of the roof which is the point from the ridge to the outer edge of the eaves. For example 14 feet.
- Now measure the width of the roof: From one side of the roof all the way to the other side, including the eaves on each end. For example 35 feet.
- Multiply these two numbers to get the area of one side. For instance: 14 x 35 = 490.
- Multiply the result by 2 to get the total square footage of the roof. For example: 2 x 490 = 980 square feet.
- Order roofing supplies by the square foot, which shall also lower the chances of any excess or wastage.
- Try to order panels sufficiently long to run the full length from the ridge to the eave so that seams can be avoided.
- Be sure to order your roofing screws at the same time as your metal roofing panels so that you’ll match the colours, a service available at Bansal Roofing.
Also Read: How To Select Roofing Sheet
#2 – Remove Old Roofing and Repair Prior Damage:
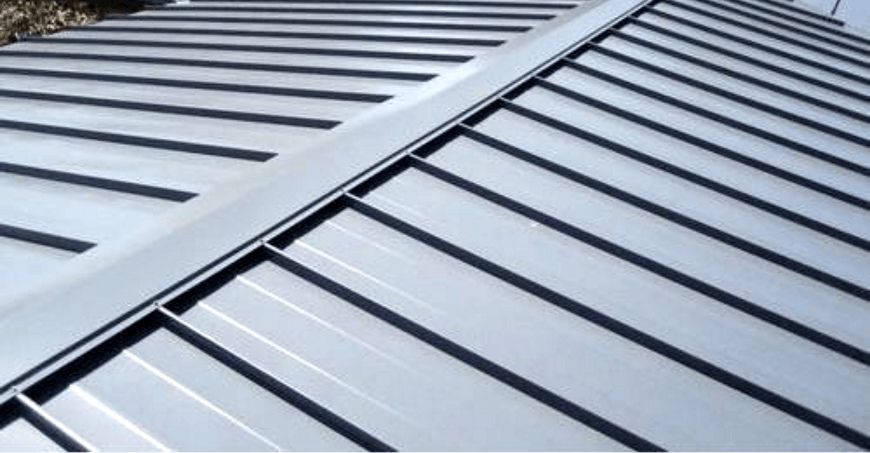
One can install a metal roof over asphalt shingles, however, a full tear-off of the old roof is a recommendation from our end. By removing the old roof you will be able to inspect the sheathing and flashing as well as mend any problem areas before moving forward. This reduces the chance of a leak.
- Begin from the top of the roof and remove the old shingles along with the vents and flashing underlayment.
- Hammer down or pull off any large nails that are exposed in the open by the removal.
- Inspect the underlying roof sheathing for damage. Make any needed repairs by using sealants and roofing adhesive.
- Install a layer of roofing underlayment, including a layer of felt paper or rosin slip sheet, as a personal recommendation from Bansal Roofing. Metal panels expand and contract at different rates than the sheathing, hence it’s important to follow the manufacturer’s guidelines regarding underlayment.
#3 – Install Drip Edge and Closure Strips:
A comprehensive guide to the same is;
- Use 1 1/4-inch galvanized roofing nails to install a drip edge along the eaves and rake the roof. Nail into the sheathing about every 16 inches.
- If installing multiple runs of drip edge, lap them by 1/4 to 1/2-inch and keep the nail back from the lapped joint.
- If there are gutters installed on the eaves, the drip-edge flashing should be installed to overhang the lip of the gutter by about 1/2-inch.
- Once the drip edge is installed around the perimeter of the roof, add sealant tape along the top of the drip edge and about 1 inch in from the edge of the drip flashing.
- With the sealant tape set along the drip edge, remove the top protective backer paper and place an inside closure strip on top of the tape.
- If the closure strip is flexible, be cautious not to stretch it or it will not align with the panel properly.
Also Read: How Important Is The Shape Of Your Roof Depending On The Application?
#4 – Install Metal Panels:
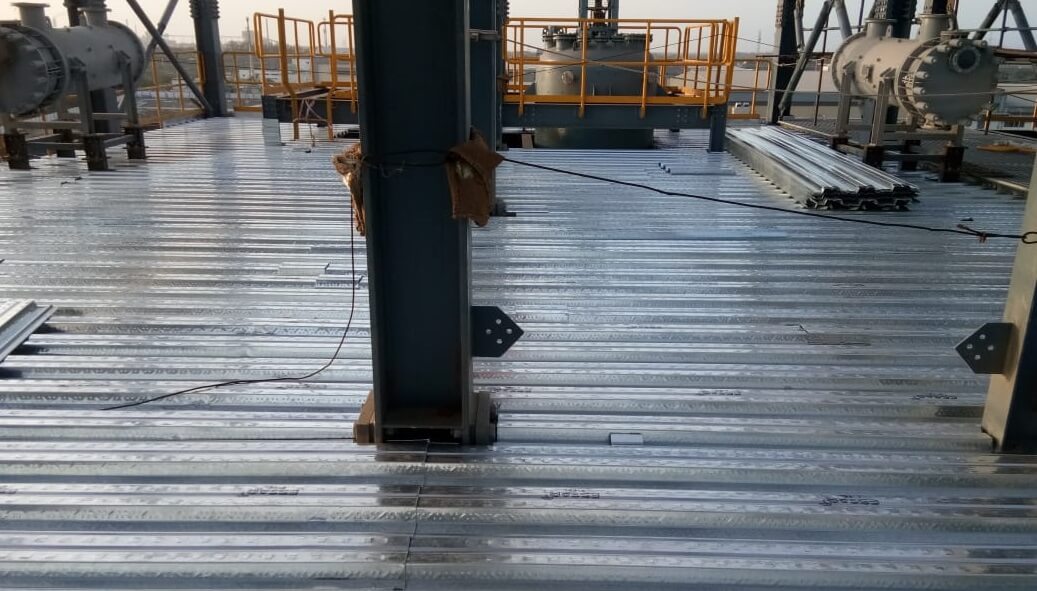
It’s time for the important steps of installing a metal roof;
- Align the first metal roofing panel in a way that it overlaps the edging by 1/2 to 3/4 of an inch and is square to the roofline.
- Ensure the larger edge is laid so that the small edge of the next panel will overlap it.
- Follow the roof panel manufacturer’s guidelines for screw placement on the panels. Bansal Roofing shall provide every form of assistance needed for you to install your metal roofing.
- Start from the eave and work your way up to the ridge to avoid buckling.
- Secure the screws but do not overtighten them. The washer under the screw head should seal to the surface of the panel without bulging or shifting.
- Run a bead of 100 percent silicone sealant along the underside of the short edge of the next panel. Install the panel so that the short lip overlaps the large lip.
- Screw the new panel in place
- Continue adding panels until the roof is covered. You may need to cut panels to fit angles. Cutting metal roofing can be done using a circular saw with a metal saw blade.
#5 – Install Ridge Caps:
Now that the panels are in place, it’s time to cap the ridge. In order to do so, you will need to install an external closure strip. Similar to the closure strip inside which was installed in the beginning, the outside closure strip runs over the top of metal panels in a shape that matches the panel’s ridges and flat parts.
With Bansal Roofing, you will not only find the highest quality of the best metal roofing options as well as roofing accessories but also proper after-sales service to assist you with installing metal roof tasks.

